Let's Play With Consul

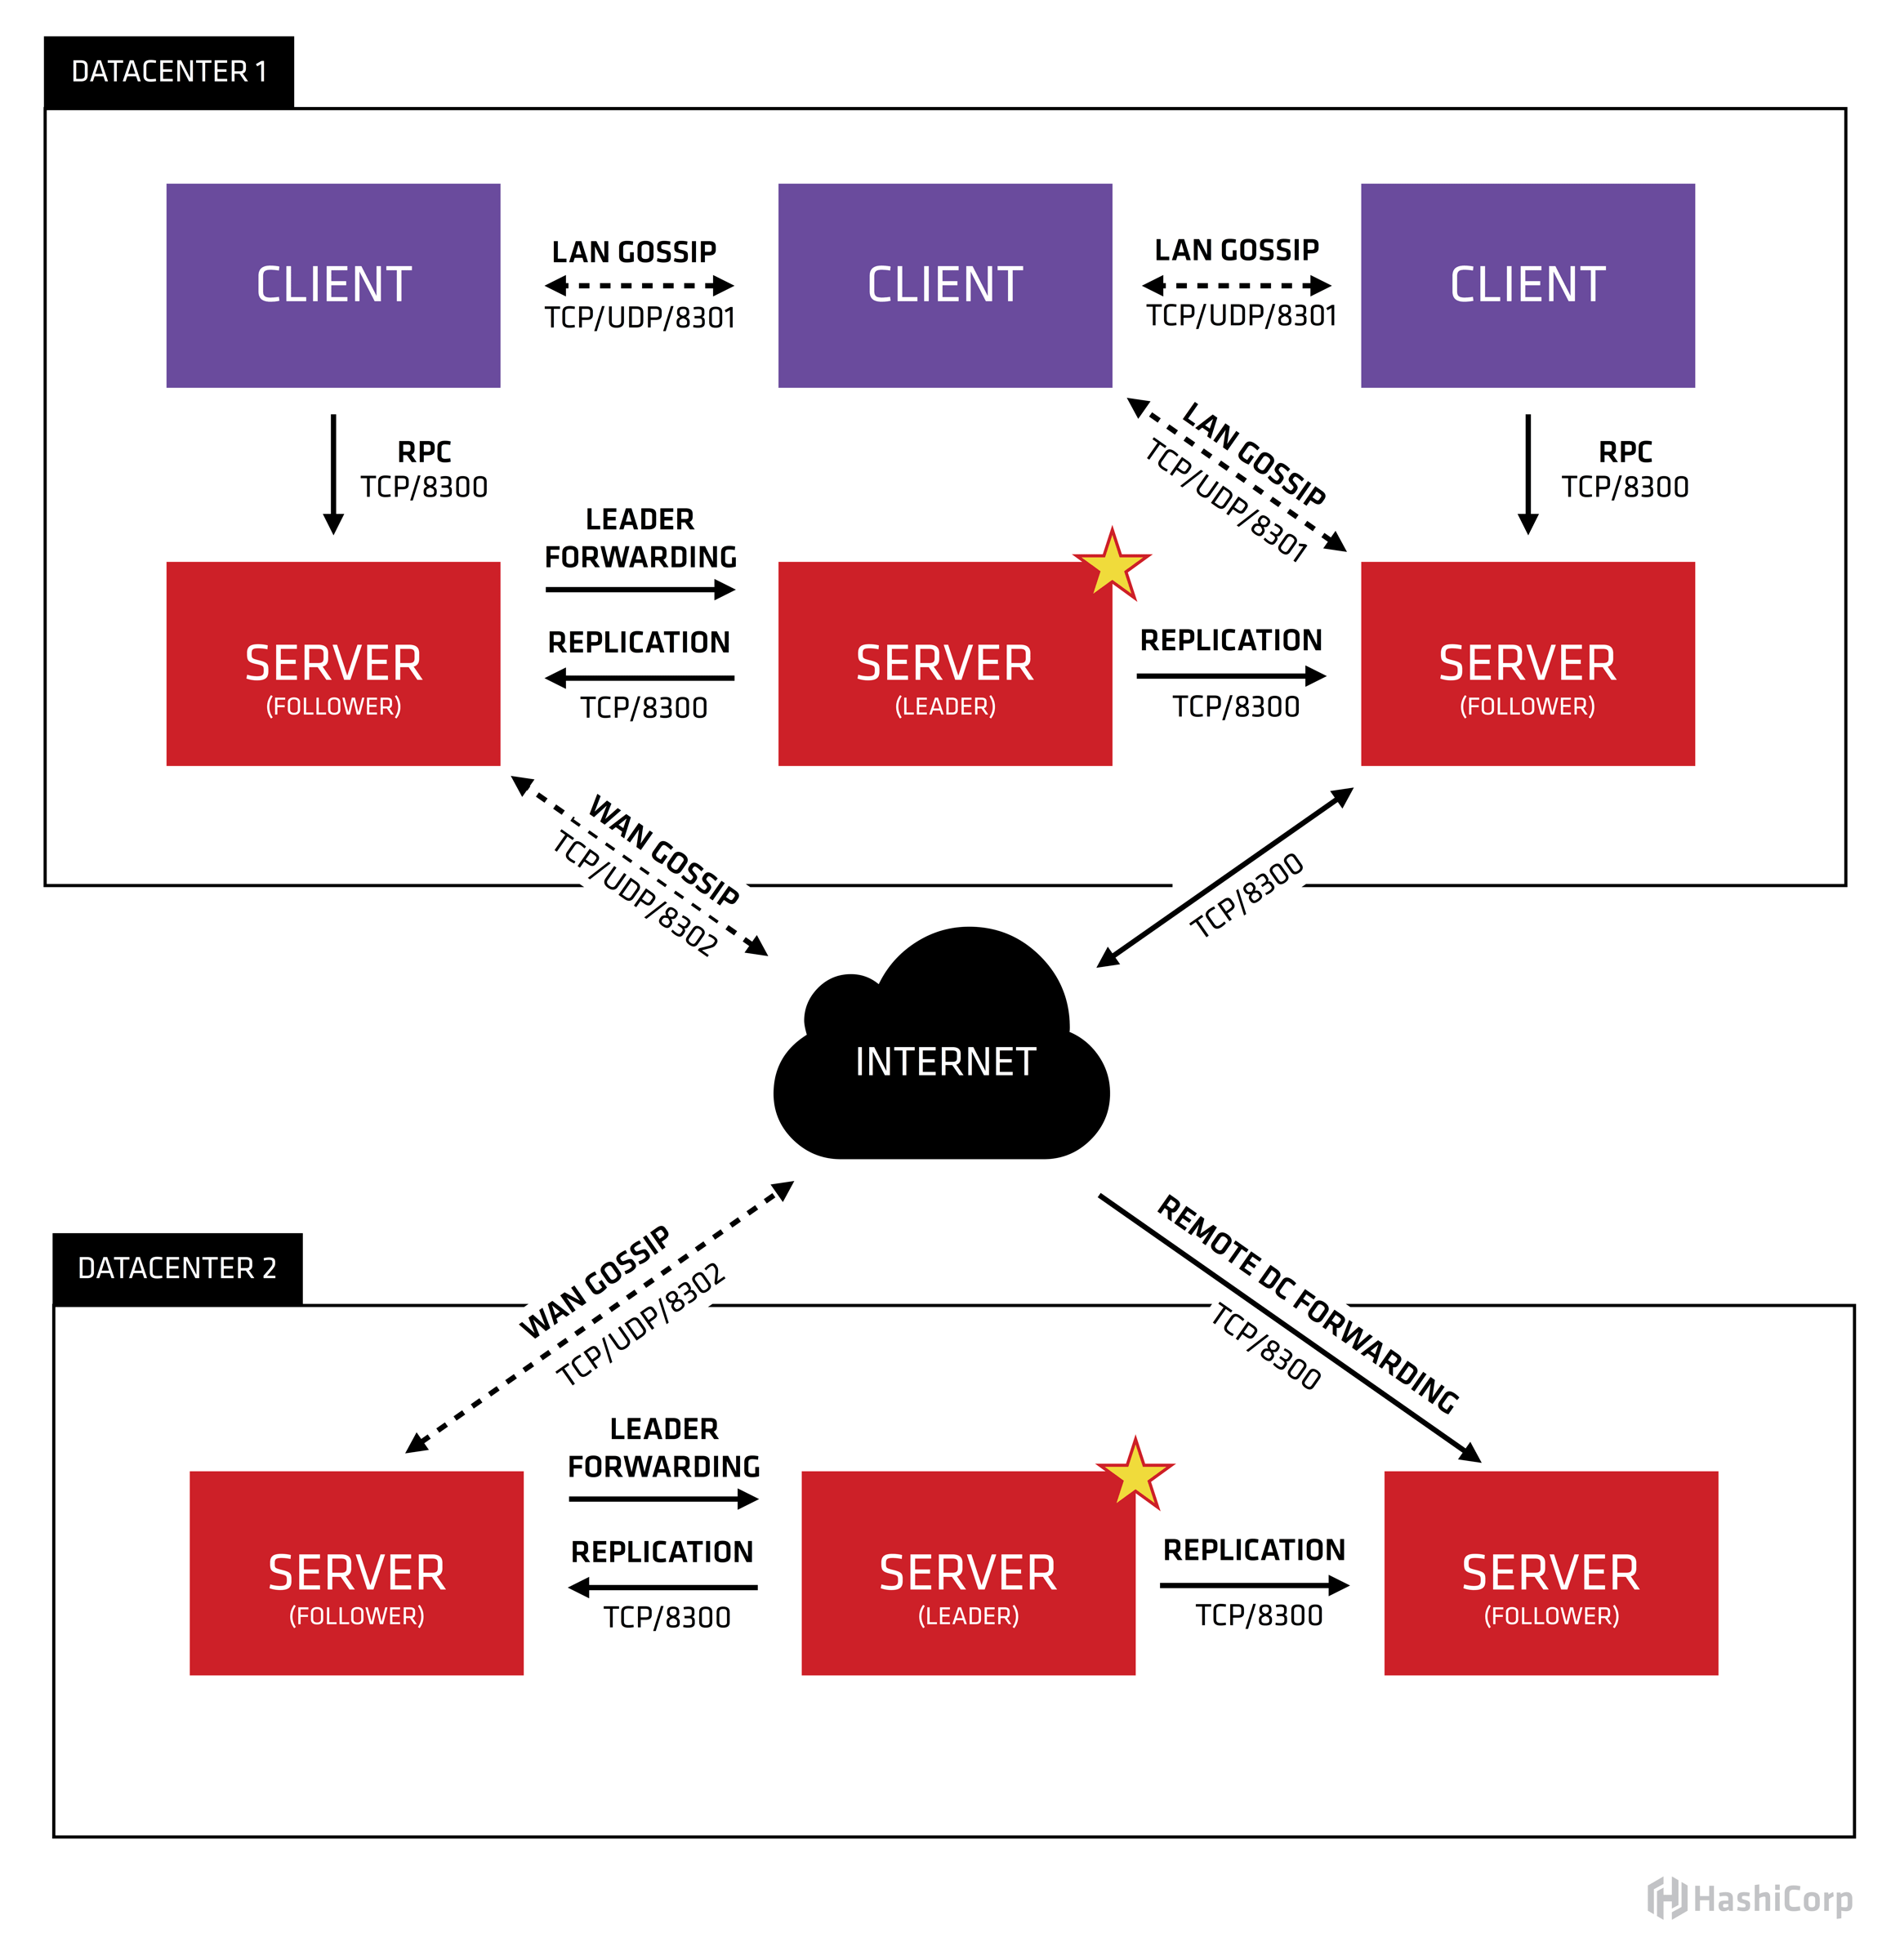
Consul consists of a fairly simple Server-Client architecture, where users of Consul talk to Consul Clients, and Consul Clients talk to Consul Servers, and Consul Servers talk to one another.

consul architecture

Download Consul Locally

Consul Download Page

info

This script requires unzip to be installed, and sha256sum isn't necessarily the same across OS distributions. This script has only been tested on Ubuntu Linux 18.04 and Amazon Linux 2.

CONSUL_VERSION=${1:-1.2.3}
curl -LOks https://releases.hashicorp.com/consul/${CONSUL_VERSION}/consul_${CONSUL_VERSION}_linux_amd64.zip
curl -LOks https://releases.hashicorp.com/consul/${CONSUL_VERSION}/consul_${CONSUL_VERSION}_SHA256SUMS
sed -n "/consul_${CONSUL_VERSION}_linux_amd64.zip/p" consul_${CONSUL_VERSION}_SHA256SUMS | sha256sum -c
sudo mkdir -p /usr/local/bin/consul_${CONSUL_VERSION}/
sudo unzip consul_${CONSUL_VERSION}_linux_amd64.zip -d /usr/local/bin/consul_${CONSUL_VERSION}
rm consul_${CONSUL_VERSION}_linux_amd64.zip
rm consul_${CONSUL_VERSION}_SHA256SUMS
sudo ln -s /usr/local/bin/consul_${CONSUL_VERSION}/consul /usr/local/bin/consul
consul -autocomplete-install
complete -C /usr/local/bin/consul consul

They have an official deployment guide that's pretty great, and a security guide that's not half bad as well.

Create Certificates

Consul CLI now a tls command for quickly building certificates.

For this workshop if you go to the examples/consul-cert folder we'll be able to make all of this work with provided server configurations.

Create the Consul CA Certificate

consul tls ca create
# ==> Saved consul-agent-ca.pem
# ==> Saved consul-agent-ca-key.pem

Create the Consul Server Certificate

consul tls cert create -server
# ==> WARNING: Server Certificates grants authority to become a
# server and access all state in the cluster including root keys
# and all ACL tokens. Do not distribute them to production hosts
# that are not server nodes. Store them as securely as CA keys.
# ==> Using consul-agent-ca.pem and consul-agent-ca-key.pem
# ==> Saved dc1-server-consul-0.pem
# ==> Saved dc1-server-consul-0-key.pem

Create the Consul Client Certificate

This will create Client certificates in pem format:

consul tls cert create -client
# ==> Using consul-agent-ca.pem and consul-agent-ca-key.pem
# ==> Saved dc1-client-consul-0.pem
# ==> Saved dc1-client-consul-0-key.pem

This will create a pfx certificate bundle which can be imported into our browser:

openssl pkcs12 -export \
-inkey ./dc1-client-consul-0-key.pem \
-in ./dc1-client-consul-0.pem \
-certfile ./consul-agent-ca.pem \
-out consul.pfx

It's recommended to supply a password, because sometimes software will prevent the import of bundles with no passwords.

Validate Local Server using TLS

Consul CA Certificate

Let's use openssl to read the certificate:

openssl x509 -text -noout -in consul-agent-ca.pem

We see a few interesting things:

Issuer:
C = US,
ST = CA,
L = San Francisco,
street = 101 Second Street,
postalCode = 94105,
O = HashiCorp Inc.,
CN = Consul Agent CA 152975490417238024399350056754687244574

Hashicorp actually fills in slightly more valid Issuer and Subject attributes.

X509v3 Key Usage: critical
Digital Signature, Certificate Sign, CRL Sign
X509v3 Basic Constraints: critical
CA:TRUE

And our certificate is a CA.

Consul Server Certificate

openssl x509 -text -noout -in dc1-server-consul-0.pem

We'll see the Subject Common Name contains the server.dc1.consul name which is required per Consul's own security mechanisms to ensure that this node can be a Server in the cluster:

Subject: CN = server.dc1.consul

And we'll see that this certificate is good for both Web Server and Web Client authentication:

X509v3 Key Usage: critical
Digital Signature, Key Encipherment
X509v3 Extended Key Usage:
TLS Web Server Authentication, TLS Web Client Authentication

This is because the Consul Server is both a Server when it serves requests, and a Client when it connects to other Servers to transfer state back and forth.

Finally, we some Subject Alternative Name values that allow us to make connections locally to the server:

X509v3 Subject Alternative Name:
DNS:server.dc1.consul, DNS:localhost, IP Address:127.0.0.1

Consul Client Certificate

openssl x509 -text -noout -in dc1-client-consul-0.pem

We'll that this is a Consul Client based on it's Common Name:

Subject: CN = client.dc1.consul

However, this certificate can still be used as a Server and Client certificate:

X509v3 Key Usage: critical
Digital Signature, Key Encipherment
X509v3 Extended Key Usage:
TLS Web Client Authentication, TLS Web Server Authentication

and this is so that processes on the local machine can talk to the local agent over SSL. Remember, for Consul, it's the Common Name that determines if the certificate is for an agent running in Server or Client mode.

Look at the Private Keys

openssl ec -text -noout -in dc1-client-consul-0-key.pem
# read EC key
# Private-Key: (256 bit)
# priv:
# 93:3f:38:ab:c1:85:4e:7b:90:f7:6f:f0:00:f5:a6:
# 89:f3:cc:75:f8:ae:f8:70:da:ef:4c:e9:fe:18:1e:
# e1:82
# pub:
# 04:d1:9d:25:0f:39:42:b0:f4:42:ab:cf:77:bd:12:
# 42:37:7b:ae:28:75:23:d5:c4:12:7d:3b:eb:8d:7d:
# f9:bb:a9:91:18:9b:5a:ad:06:d9:06:e3:f7:58:81:
# 84:c7:c3:15:6e:1b:af:0a:a6:f9:01:53:c7:96:15:
# 2a:d8:b2:27:3b
# ASN1 OID: prime256v1
# NIST CURVE: P-256

Install the consul-agent-ca.pem so we trust it.

Every application is a bit different. It's a bit maddening.

To install the CA on a linux host you might do the following:

sudo cp consul-agent-ca.pem /usr/local/share/ca-certificates/consul-agent-ca.crt
sudo update-ca-certificates
# Updating certificates in /etc/ssl/certs...
# 0 added, 0 removed; done.
# Running hooks in /etc/ca-certificates/update.d...
# Updating Mono key store
# Mono Certificate Store Sync - version 6.8.0.105
# Populate Mono certificate store from a concatenated list of certificates.
# Copyright 2002, 2003 Motus Technologies. Copyright 2004-2008 Novell. BSD licensed.
#
# Importing into legacy system store:
# I already trust 135, your new list has 136
# Import process completed.
#
# Importing into BTLS system store:
# I already trust 135, your new list has 136
# Import process completed.
# Done
# done.

If you're using Firefox and Chrome you'll need to import the Certificate. On Linux these applications have their own keystore solutions. On macOS Chrome still uses the Apple Keychain.

warning

On macOS, importing the certificate into Apple Keychain isn't enough. You also need to open the certificate and tell the OS to trust the certificate for whatever purposes you believe it should be trusted.

There's also a certutil tool that can help automate some of this.

Finally, you need to also import the consul.pfx file into your browser or Apple Keychain. This will allow you to do two-way, or client side SSL. What this means is that your client will also present a certificate to the server to validate your authenticity.

Run a Local Server Using Our Certificates

Start the Consul server:

consul agent -config-file=server.hcl

Open a browser to https://localhost:8501

This time the server will request a client certificate, and it will use the one we imported previously.

curl can work with certificates too:

curl --cacert ./consul-agent-ca.pem -vs https://localhost:8501/v1/health/state/passing | jq .
* Trying ::1...
* TCP_NODELAY set
* Connection failed
* connect to ::1 port 8501 failed: Connection refused
* Trying 127.0.0.1...
* TCP_NODELAY set
* Connected to localhost (127.0.0.1) port 8501 (#0)
* ALPN, offering h2
* ALPN, offering http/1.1
* successfully set certificate verify locations:
* CAfile: ./consul-agent-ca.pem
CApath: none
* TLSv1.2 (OUT), TLS handshake, Client hello (1):
} [223 bytes data]
* TLSv1.2 (IN), TLS handshake, Server hello (2):
{ [58 bytes data]
* TLSv1.2 (IN), TLS handshake, Certificate (11):
{ [682 bytes data]
* TLSv1.2 (IN), TLS handshake, Server key exchange (12):
{ [116 bytes data]
* TLSv1.2 (IN), TLS handshake, Server finished (14):
{ [4 bytes data]
* TLSv1.2 (OUT), TLS handshake, Client key exchange (16):
} [37 bytes data]
* TLSv1.2 (OUT), TLS change cipher, Change cipher spec (1):
} [1 bytes data]
* TLSv1.2 (OUT), TLS handshake, Finished (20):
} [16 bytes data]
* TLSv1.2 (IN), TLS change cipher, Change cipher spec (1):
{ [1 bytes data]
* TLSv1.2 (IN), TLS handshake, Finished (20):
{ [16 bytes data]
* SSL connection using TLSv1.2 / ECDHE-ECDSA-AES256-GCM-SHA384
* ALPN, server accepted to use h2
* Server certificate:
* subject: CN=server.dc1.consul
* start date: Apr 17 03:08:15 2020 GMT
* expire date: Apr 17 03:08:15 2021 GMT
* subjectAltName: host "localhost" matched cert's "localhost"
* issuer: C=US; ST=CA; L=San Francisco; street=101 Second Street; postalCode=94105; O=HashiCorp Inc.; CN=Consul Agent CA 301271136312711425275901821455482890949
* SSL certificate verify ok.
* Using HTTP2, server supports multi-use
* Connection state changed (HTTP/2 confirmed)
* Copying HTTP/2 data in stream buffer to connection buffer after upgrade: len=0
* Using Stream ID: 1 (easy handle 0x7fc8fe00f600)
> GET /v1/health/state/passing HTTP/2
> Host: localhost:8501
> User-Agent: curl/7.64.1
> Accept: */*
>
* Connection state changed (MAX_CONCURRENT_STREAMS == 250)!
< HTTP/2 200
< content-type: application/json
< vary: Accept-Encoding
< x-consul-effective-consistency: leader
< x-consul-index: 6
< x-consul-knownleader: true
< x-consul-lastcontact: 0
< content-length: 261
< date: Fri, 17 Apr 2020 03:48:42 GMT
<
{ [261 bytes data]
* Connection #0 to host localhost left intact
* Closing connection 0
[
{
"Node": "MacBook-Pro.localdomain",
"CheckID": "serfHealth",
"Name": "Serf Health Status",
"Status": "passing",
"Notes": "",
"Output": "Agent alive and reachable",
"ServiceID": "",
"ServiceName": "",
"ServiceTags": [],
"Type": "",
"Definition": {},
"CreateIndex": 6,
"ModifyIndex": 6
}
]